Kentico CMS is able to perform most operations without writing to disk. However, there are situations when the web application needs to write to the disk for optimal operations or performance, such as importing/exporting a site or storing uploaded files in the files system (which is optional).
If you receive an error message from the system saying that the web application cannot write to disk, you need to grant the appropriate user account with Modify permissions on the whole web site.
User account of the web application
The web application runs under user account that depends on your environment:
1. In Windows XP, the user account is the local ASPNET account (aspnet_wp) by default.
2. In Windows 2000 and 2003, the user account is the local account NT Authority\Network Service by default.
3. If you're using Visual Studio 2005 built-in web server, it is running under your account.
You can see the name of the user account under which the application runs in Site Manager -> Administration -> System dialog.
Granting user account with Modify permission on Windows XP
Open Windows Explorer, locate the folder with your web site, right-click the folder and display its Properties. Choose the Security tab.
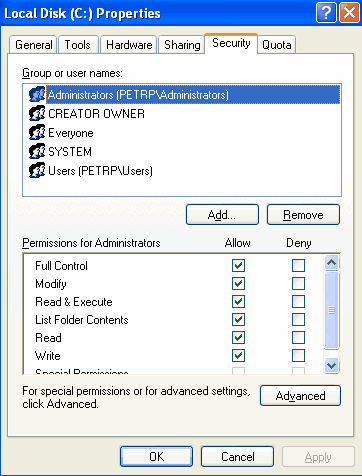
|
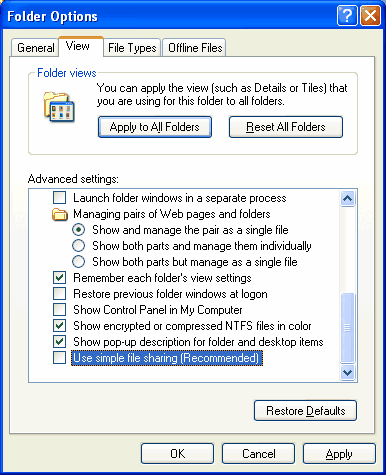
Missing Security tab in folder properties dialog
If you cannot see the Security tab, click Tools -> Folder options in the Windows Explorer main menu, choose the View tab and uncheck the Use simple file sharing box. Click OK. Now you should find the Security tab in the folder properties dialog.
|
Click Add... The Select Users, Computers and Groups dialog appears.
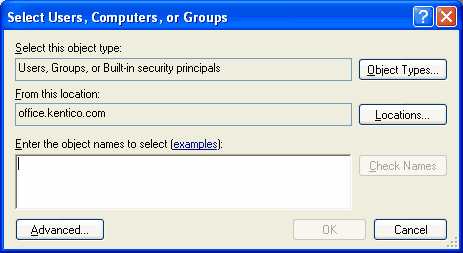
Click Locations... and choose your local computer:
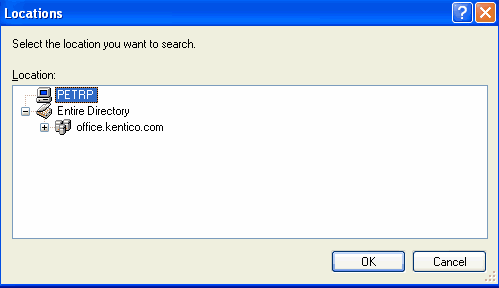
Click OK. Enter aspnet into the box and click Check Names. The name should be resolved to <your computer name>\ASPNET.
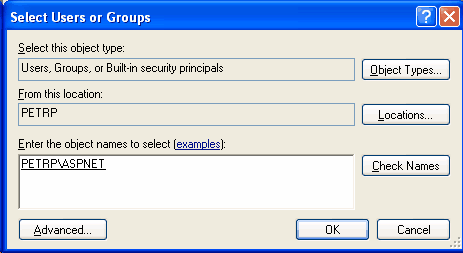
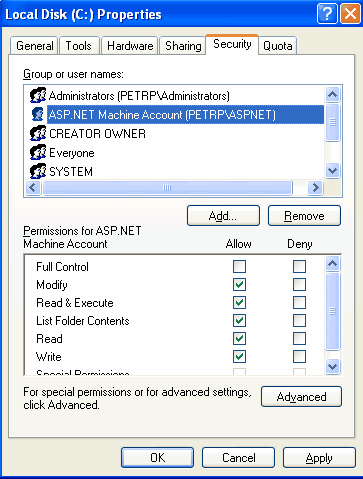
Click OK. The account is added to the list of accounts. Grant the account with Modify permissions and click OK.
Granting user account with Modify permission on Windows 2000/2003
Open Windows Explorer, locate the folder with your web site, right-click the folder and display its Properties. Choose the Security tab.
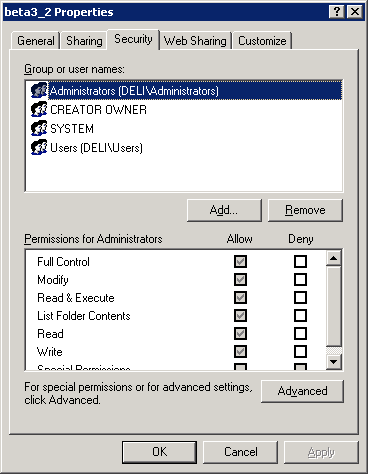
Click Add... The Select Users, Computers and Groups dialog appears.
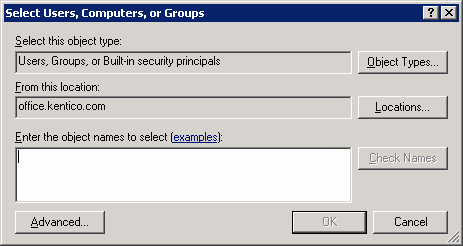
Click Locations... and choose your local computer:
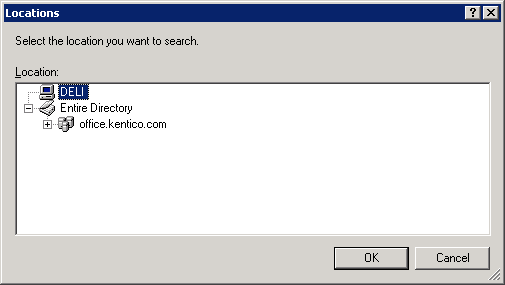
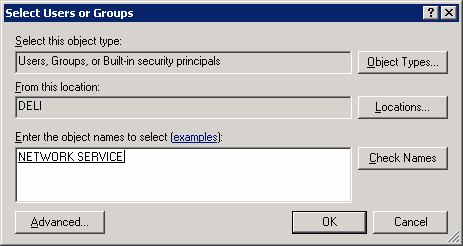
Click OK. Enter network service into the box and click Check Names. The name should be resolved to NETWORK SERVICE.
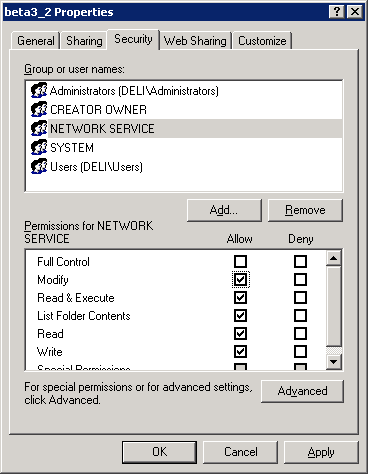
Click OK. The account is added to the list of accounts. Grant the account with Modify permissions and click OK.
Choosing the component for directory operations
If you're running Kentico CMS under restricted trust level, you may need to use the managed component for directory operations (create/delete/rename directory). You can configure it by setting the following web.config parameter:
<add key="CMSDirectoryProviderAssembly" value="CMS.DirectoryProviderDotNet" />
If you're running Kentico CMS on a shared hosting server, some providers require that you use the non-managed methods for directory operations:
<add key="CMSDirectoryProviderAssembly" value="CMS.DirectoryProviderWin32" />

